In today’s fast-paced digital world, efficient file compression tools are essential for managing and transferring data effectively. Among the plethora of options available, 7-Zip stands out as a versatile and powerful solution for both extracting and creating archives. If you’re new to the world of file compression or looking to expand your toolkit, this beginner’s guide will walk you through the simple steps of downloading and using 7-Zip to streamline your file management tasks.

Why Choose 7-Zip?
7-Zip is a free and open-source file archiver with a high compression ratio, making it an excellent choice for both personal and professional use. It supports a wide range of compression formats, including its native 7z format, as well as popular formats like ZIP, RAR, and TAR. With its user-friendly interface and robust features, 7-Zip offers unparalleled flexibility and efficiency in handling compressed files.
1. Downloading and Installing 7-Zip
- Go to 7-Zip ToolsLib’s page or navigate to the official 7-Zip website at www.7-zip.org.
- Click on the “Download” link to access the download page.
- Choose the appropriate version of 7-Zip for your operating system (Windows, macOS, or Linux) and click on the corresponding download link.
- Once the download is complete, run the installer and follow the on-screen instructions to install 7-Zip on your computer.
2. Extracting Files with 7-Zip
- Locate the compressed file (e.g., .zip, .rar) that you want to extract.
- Right-click on the file to open the context menu.
- Hover over the “7-Zip” option to reveal a submenu.
- Select the desired extraction option:
- “Extract Here”: Extracts the files to the current directory.
- “Extract to [filename]\”: Extracts the files to a new folder with the same name as the compressed file.
- “Extract to [foldername]\”: Extracts the files to a specific folder of your choice.
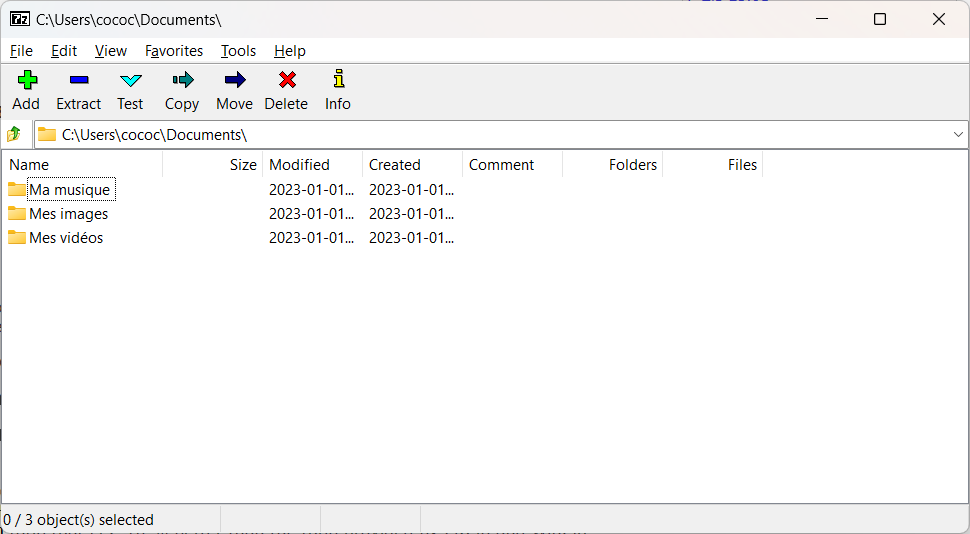
3. Creating Archives with 7-Zip
- Select the files or folders that you want to compress.
- Right-click on the selected items to open the context menu.
- Hover over the “7-Zip” option to reveal a submenu.
- Choose “Add to archive…” to open the 7-Zip File Manager.
- Specify the archive format (e.g., 7z, ZIP) and compression level.
- Click “OK” to create the archive with the selected files or folders.
Mastering the use of 7-Zip for file compression is a valuable skill that can enhance your productivity and simplify your file management tasks. Whether you’re extracting files from archives or creating compressed archives for storage or sharing, 7-Zip offers a straightforward and efficient solution. By following the steps outlined in this guide, you’ll be well-equipped to harness the power of 7-Zip and take control of your digital workflow. So why wait? Download 7-Zip today and unlock a world of possibilities for file compression and archiving.
[Refer to our previous blog post “How-To: Guide to Extracting Zip Files on Windows and macOS” for more insights into file compression techniques.]

Founder of ToolsLib, Designer, Web and Cybersecurity Expert.
Passionate about software development and crafting elegant, user-friendly designs.
Stay Updated with ToolsLib! 🚀
Join our community to receive the latest cybersecurity tips, software updates, and exclusive insights straight to your inbox!