Uninstalling software you no longer need can help free up space and keep your Windows 11 system running smoothly. Whether you’re looking to remove a program that’s causing issues or just declutter your device, this guide will walk you through the process.
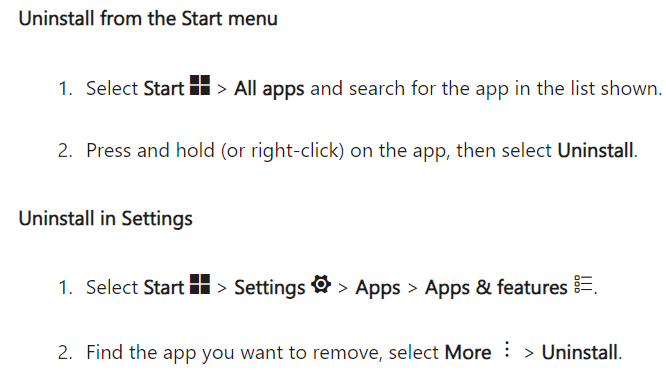
Method 1: Uninstall via Settings
- Open the Start Menu: Click on the Start button in the taskbar or press the Windows key on your keyboard.
- Access Settings: In the Start menu, click on Settings (the gear icon) or search for “Settings” using the search bar.
- Navigate to Apps: In the Settings window, select Apps from the sidebar.
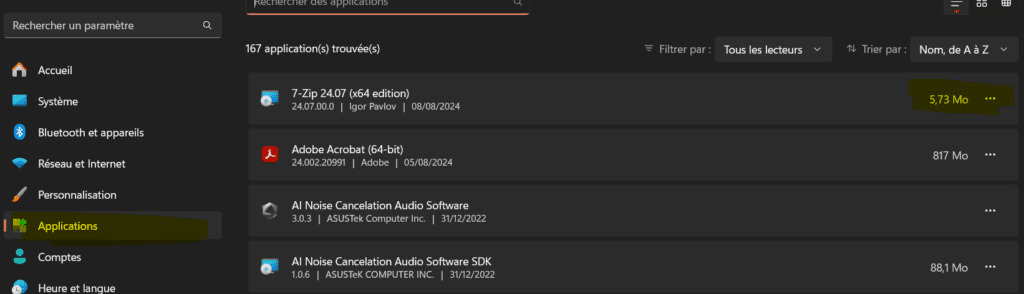
- Go to Installed Apps: Click on Installed apps to see a list of all the programs installed on your computer.
- Find the Software: Scroll through the list or use the search bar to locate the software you want to uninstall.
- Uninstall the Software: Click on the three-dot menu (⁝) next to the software’s name, then select Uninstall. A confirmation prompt will appear; click Uninstall again to proceed.
- Follow the Uninstallation Wizard: Some programs may have their own uninstallation wizard. Follow the on-screen instructions to complete the process.
Method 2: Uninstall Using the Start Menu
- Access the Start Menu: Click the Start button or press the Windows key.
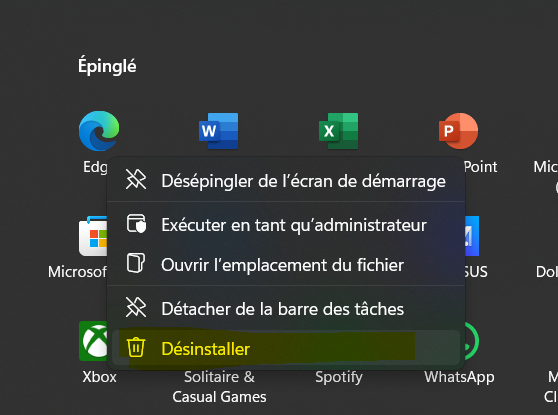
- Locate the Software: Scroll through the Start menu to find the software you want to uninstall. You can also search for it using the search bar.
- Uninstall Directly: Right-click on the software and select Uninstall from the context menu. Confirm the action to proceed with the uninstallation.
Method 3: Using Third-Party Uninstaller Tools
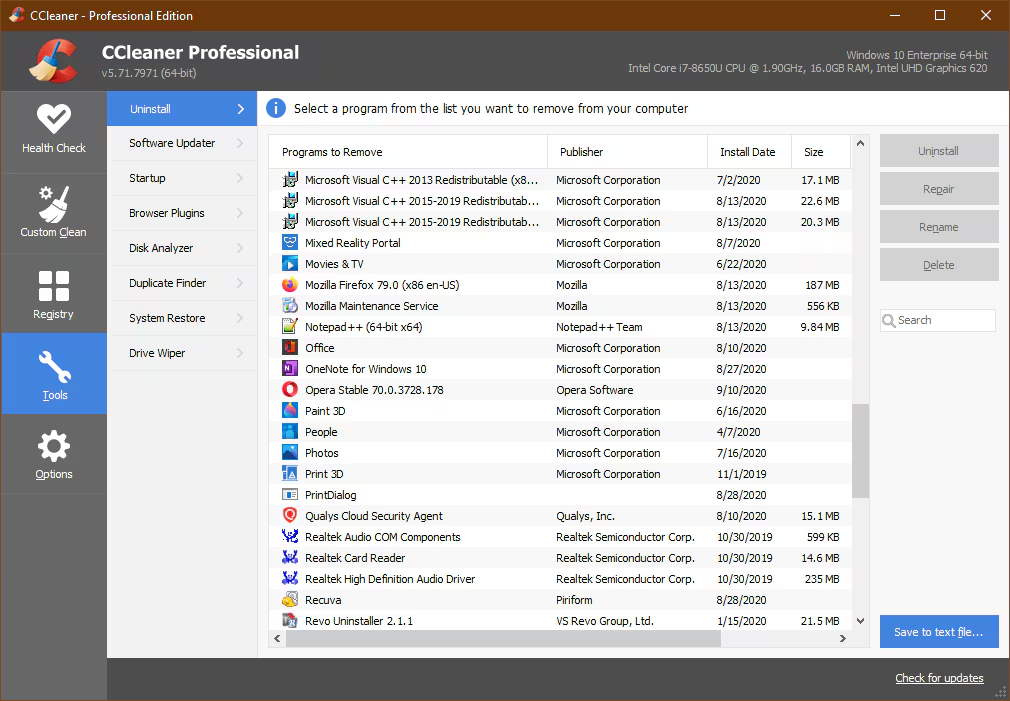
If you’re having trouble uninstalling software through the standard methods or want to ensure all remnants are removed, you can use third-party uninstaller tools like CCleaner.
- Download and Install the Tool: Choose a reputable uninstaller tool and install it on your computer.
- Run the Tool: Open the uninstaller tool and let it scan your system for installed programs.
- Uninstall the Software: Select the software you wish to remove, then follow the tool’s instructions to complete the uninstallation. These tools often remove leftover files and registry entries as well.
Tips and Considerations
- Restart Your Computer: After uninstalling software, it’s a good idea to restart your computer to ensure that all changes take effect.
- Check for Leftover Files: Sometimes, uninstallation might leave behind residual files. You can manually check the installation directory or use a cleaning tool to remove these leftovers.
- Be Cautious: Only uninstall software you’re sure you no longer need. Removing critical system software can cause issues.
By following these steps, you can easily uninstall any software from your Windows 11 PC, keeping your system organized and efficient.
Related links:
- https://support.microsoft.com/en-us/windows/uninstall-or-remove-apps-and-programs-in-windows-4b55f974-2cc6-2d2b-d092-5905080eaf98
- https://support.ccleaner.com/s/article/uninstall-apps-with-ccleaner-for-windows?language=en_US

Founder of ToolsLib, Designer, Web and Cybersecurity Expert.
Passionate about software development and crafting elegant, user-friendly designs.
Stay Updated with ToolsLib! 🚀
Join our community to receive the latest cybersecurity tips, software updates, and exclusive insights straight to your inbox!